Set up for IoT Using Arduino & ESP8266
The Arduino is a wonderful platform which supports tons of Embedded boards, By default the software comes with pre-loaded Arduino boards, however if you use 3rd party boards like Node MCU / ESP32 / STM32 you would need to install the required boards manager Or the Software Packages using which you can program the Dev board and even upload the codes to it. Also in order to unleash the power of IoT, we would need to install additional Libraries & Boards.
Please follow the instructions below in order to install Arduino IDE and to Install ESP8266 Boards for Arduino IDE. (See below section for screenshot).
- Download & Install Arduino
- Start the Arduino IDE.
- Go to File & Preferences and, towards the bottom of the window, copy this URL into the Additional Board Manager URLs text box (this is specific for ESP8266 based boards)
- http://arduino.esp8266.com/stable/package_esp8266com_index.json
- Click OK.
- Go to Tools > Boards > Boards Manager and search for "esp8266".
- Select the entry titled "esp8266 by ESP8266 Community", then click Install.
- Click Close once installation is complete.
- Go back to Tools > Boards and select NodeMCU 1.0(ESP-12E Module).
- Return to Tools and verify that CPU Frequency is set to 80 MHz and Upload Speed is set to 921600.
- Close All open Arduino IDE and do the next step
- Click here to download and install the Libraries. (Leave the Installation location unchanged and just install it)
Detailed walk through...
Install Arduino
Download Installer Or Ex-tractable Zip
For Linux / Mac computers select the appropriate download option from the above link
Install ESP8266 Boards Manager (For all Operating Systems)
This Step is required in order to use your ESP8266 Board with Arduino IDE software
Open Arduino IDE and click on File -> Preferences

In Additional Boards Manage Type: http://arduino.esp8266.com/stable/package_esp8266com_index.json


Type ESP8266 in the Search box and select the latest version and download

It will take ~ 20 Mins to download the files... Please be patient ! Once completed
Select NodeMCU - ESP-12-E Module from boards Manager and connect the ESP8266 12-E or relevant board.

Click here to download and install the Libraries. (Leave the Installation location unchanged and just install it),
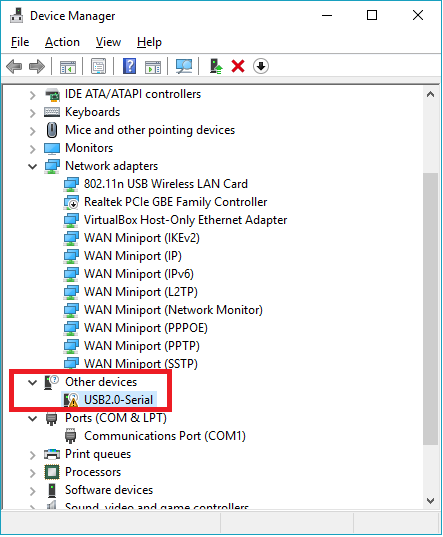
You can now connect the MCU to your PC & Open Arduino IDE and Select the correct COM Port for communication. (Make sure your NodeMCU is connected to PC at this stage).
If you are unsure about this Open Device Manager from Control Panel --> Administrative tool --> Computer Management and identify the correct COM Port.

Have any suggestions ?, please feel free to leave it in the comments section below.
very well executed.
ReplyDeleteIOT Training in Delhi
mroud{}
ReplyDeleteThe main motive of the Big data consulting services is to spread the knowledge so that they can give more big data engineers to the world.
ReplyDeleteThank you for blessing me with your answer! I’m very sorry for the nagging tone of my previous message, I genuinely thought that late blogposts might be a technical issue on the website part, since the dates didn’t add up ?? smart healthcare solution
ReplyDeleteThis post is good enough to make somebody understand this amazing thing, and I’m sure everyone will appreciate this interesting things.iot training in noida
ReplyDelete